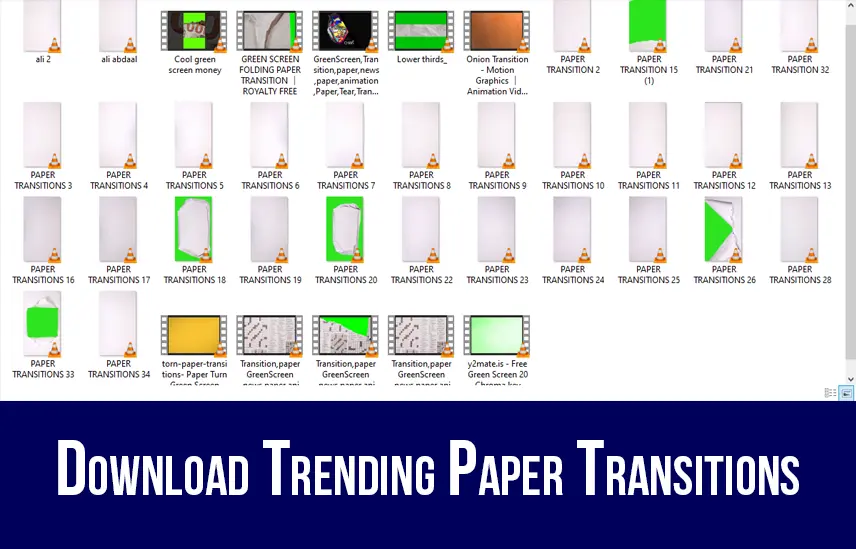
Free Paper Transitions for Your Video Projects
Video editing is a creative process that allows you to tell visual stories and convey your message to viewers. Transitions help glue clips together and control the flow and pace of a video by smoothly moving between scenes. If you want to enhance your video projects but don’t want to spend money on transitions, we offer a free download of our paper asset pack.
What Are Paper Transitions?
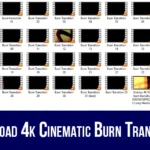
Paper transitions use imagery of tearing, burning, folding, or crumpling paper to transition between video clips. They can be subtle ways to connect different parts of a story or draw more attention to the change in scenes. Our free pack includes ten different paper transition styles that can be easily imported into video editing software like Final Cut Pro or Adobe Premiere Pro.
Free Download and Use
You can access the paper transition zip file on our website. Download it, unzip the file, and place the transition video clips into your video editing project timeline where you want the change of scenery to occur. Nearly all modern video editing programs allow for smooth integration of transitions. From there, it’s just a matter of fine-tuning the transition length to suit your content. We grant permission for both personal and commercial use of these assets.
Section 1: Transition Styles
The following subsection previews the ten transition styles included in the pack so you can find the right visual to tie your scenes together:
Torn Edge
This gradual transition mimics the appearance and motion of a page torn across the middle of the screen.
Burn Away
Edges of the “paper” appear signed and burn away to reveal the next scene underneath.
Crumple and Open
The screen “crumples” as if scrunching a piece of paper, then “flattens out” to the subsequent clip.
Peel Back
One side of the “paper” animation lifts and curls upwards off the frame.
Floating Bits
Tiny scraps of paper float up and out of view like confetti. Flutter Pages: Light and fast “fluttering” of paper flipping over to transition.
Fold In
The screen “folds” in half vertically and unfolds to the new scene. Accordion: The screen compresses from left and right like an accordion.
Rip and Flip
A “rip” tears across, and the following scene flips up from behind.
Shred
Imagery shreds outward from the center.
All transitions have a paper-like texture applied and range from two to five seconds in length for flexibility. Feel free to experiment and see which style complements the tone and pacing of your projects best.
Section 2: Applying Transitions
Now that you understand the different transition options, here are the basic steps to apply them in your video editing software:
Open your video editing timeline and locate where you want a transition between two clips. Select both clips by clicking and dragging to highlight them.
Go to the “Effects” or “Video Transitions” tab, depending on your program, and either search for the transition file name or browse to locate the transition video file you want to use.
Double-click the transition clip to place it on the timeline between the two video clips you highlighted previously. The paper transition animation will now bridge the gap.
You can adjust the length of the transition clip by dragging its edges left or right on the timeline. Shorten for faster cuts or lengthen for more subtle fades.
Preview and fine-tune as needed. Repeat this process wherever you want scene changes throughout your project. Save, render, and export as usual once complete.

Section 3: Additional Tips
Here are a few extra suggestions as you work with paper transitions:
- Adjust the opacity of the transition clip for more subtle fading
- Reverse specific transitions by selecting the clip and going to the “Speed/Duration”
- Overlay audio like paper rustling or tearing for an immersive
- Apply multiple transitions back-to-back for impactful chapter
- Consider color-matching the paper textures to scene themes for
- Experiment with placing transitions in the center of long clips for mid-scene
- Be mindful of overall transition usage – too many can disrupt the
Are there any specific video editing software programs that are compatible with these paper transitions?
Adobe Premiere Pro
As one of the industry-leading options for professional video editing, these transitions import and function correctly within Adobe Premiere Pro CC and higher versions. We’ve found them smooth and easy to use alongside Premiere’s other effects and features.
Final Cut Pro
For Mac users, Final Cut Pro X also supports third-party files like paper transitions with no Simply dragging and dropping them onto the timeline provides reliable integration. Final Cut’s timeline customization further allows precise timing fine-tuning.
DaVinci Resolve
This robust free video editor from Blackmagic Design is quickly gaining Resolve handles the paper transitions without problems for MAC and Windows OS versions. All transition properties like speed and opacity are fully adjustable here, too.
Hit Film Express
An advanced yet accessible program, Hit Film Express allows for basic to advanced editing and masking capabilities. It readily accepts paper transitions on both PC and Mac
iMovie
Apple’s free and intuitive iMovie editor for iOS works well for personal The paper transitions load as expected and can help amateur filmmakers push creativity within this app’s limitations.
So, in summary, while other programs may be compatible too, the above software represents the top options where the paper transitions have been ǪA tested to perform dependably. Let me know if you have any other questions!
Can you recommend tutorials or resources for using these paper transitions in Adobe Premiere Pro?
Premiere Pro Transition Tutorials:
- Adobe Premiere Pro’s official video tutorial on “Applying Transitions” provides a visual step-by-step guide to inserting and adjusting
- The YouTube channel “Songchun – video tutorials” has an in-depth yet concise tutorial just on using transitions in Premiere
- The video tutorial site “School of Motion” explains best practices for pacing scene transitions and tells how to access the transitions
- The tutorial website “Video Brush Strokes” teaches intermediate techniques like reversing, duplicating and adjusting transitions for advanced
Premiere Pro Documentation:
- Adobe’s learning platform, “Adobe Help Center”, has written guides on Premiere basics like using the Effects Controls panel for parameter
- The downloadable PDF “Adobe Premiere Pro User Guide” covers full program functions thoroughly, with a transition
*Good News* Learn Video Editing from our YouTube channel for Free. YouTube : GDX
Superb effort!